|
|
|
|
Cathy Welner
Floral Watercolor Workshop
Euclid Art Association
Saturday,
October 7, 2017 |
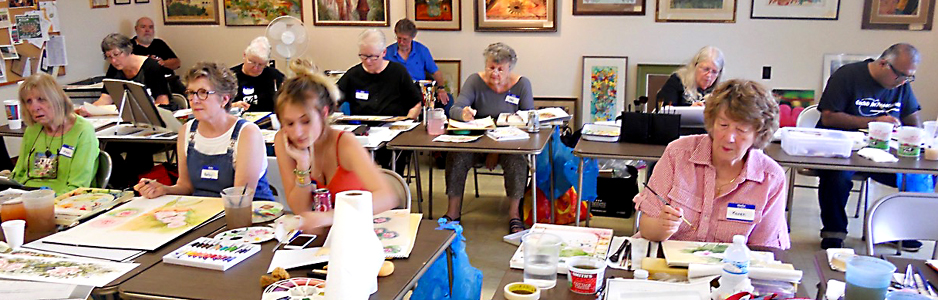
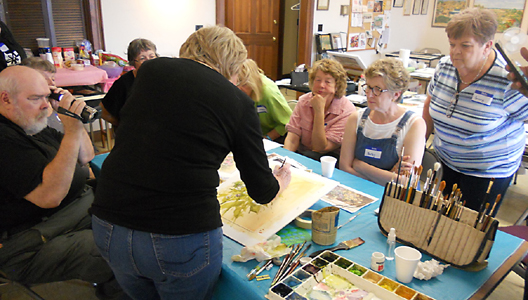
Our 2017-2018 workshop season started off with a
Floral Watercolor workshop with award winning local
artist, Cathy Welner. WOW! What a great
workshop.....we learned so much. Thank you, Cathy!
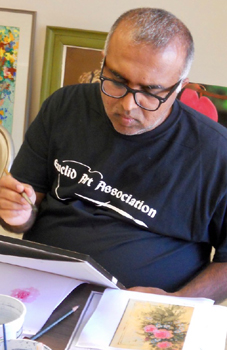
There were 12 participants in the class from all over Ohio and
even Michigan. Linda and Terry traveled all the way from
Loudenville, getting up at 4:30am to arrive on time, as did
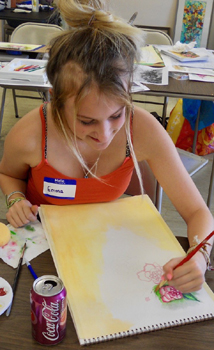
Yogesh, who drove in from Auburn, Michigan. Our youngest
member, Emma, a high school sophomore, participated too.
 Cathy
started the class by generously handing out several quality
prints of her floral artworks that we could use as reference
and, of course, frame later if we wanted. The reference
materials just kept on coming! Cathy shared many of her
original paintings with us....all so beautiful. We also
thank her friend, Bill, for helping bring all her prints,
pictures and supplies up to the second floor Gallery! Cathy
started the class by generously handing out several quality
prints of her floral artworks that we could use as reference
and, of course, frame later if we wanted. The reference
materials just kept on coming! Cathy shared many of her
original paintings with us....all so beautiful. We also
thank her friend, Bill, for helping bring all her prints,
pictures and supplies up to the second floor Gallery!
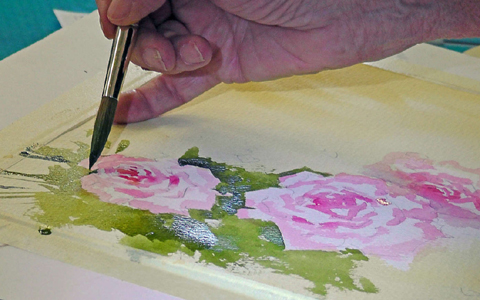
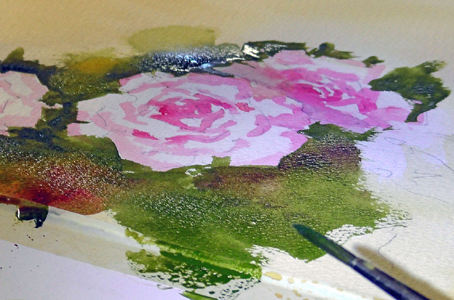
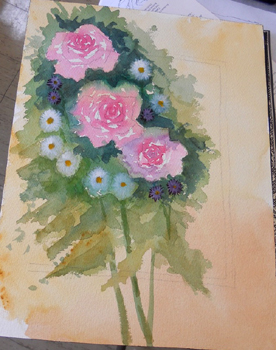
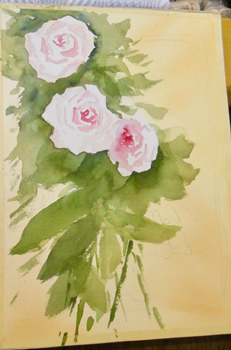
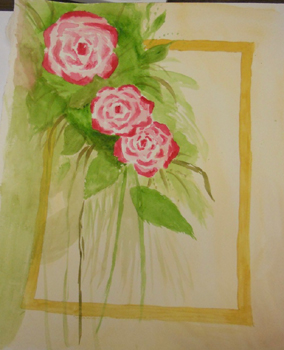
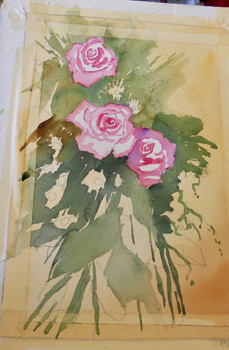
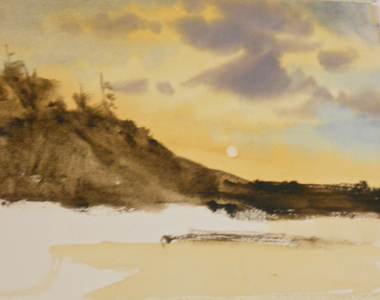
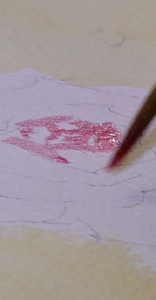
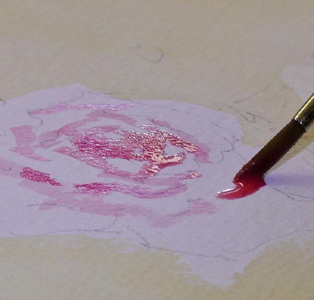
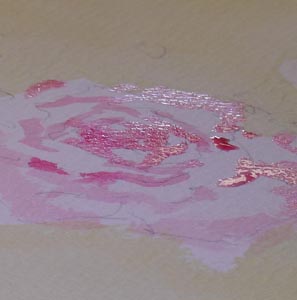
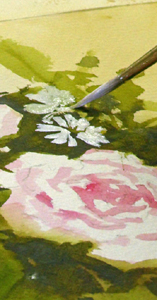
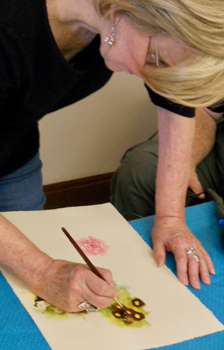
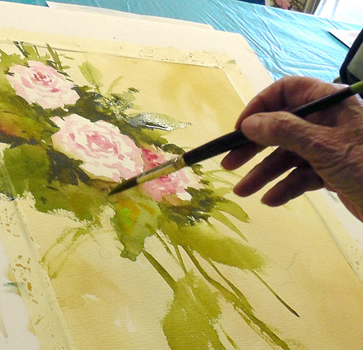
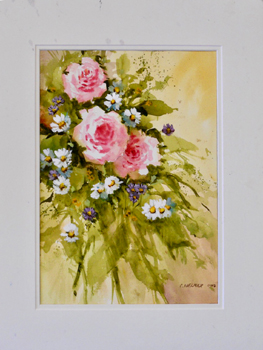
We gathered around as Cathy started her demonstration of the
rose, daisy and purple aster bouquet that we painted in the
class. She made it look so easy. She started with
the background wash of yellow ochre, leaving the white of the
paper for the roses. After the initial wash, Cathy used a
dry brush for everything else. There was very little water
on her palate and at times her brushes seemed to take a lot of
abuse as she moved the paint around on the paper. She used
white paint, liberally, especially for the daisies and asters.
She was not afraid to use her fingernails or a dull razor blade
to get some of the finer details.
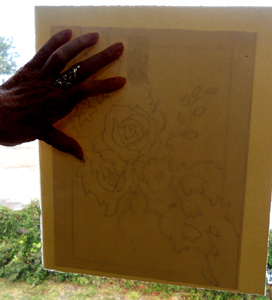
Cathy gave us lots of tips.....how to copy the sketch
onto watercolor paper, how to paint a rose, the trick to
painting daisies and asters, painting negative shapes...plus
more. But, the best tip, not related to flowers,
however, was how to add the sun or the moon to your landscape
painting....it was so simple! This tip alone was worth the
cost of the class!
 |
 |
|
Cathy shares how to trace
the subject onto watercolor paper. |
Use a sunny window! |
 |
 |
 |
|
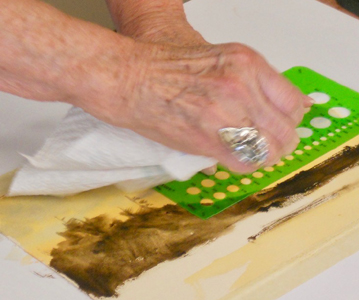
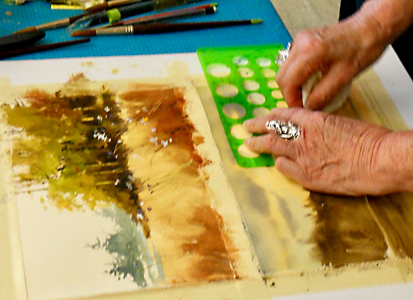
Cathy uses a circle
template and wet paper towel to add a moon or sun to the
painting. |
Don't forget the
reflection, and to break up the edges. |
How easy is that! |
 |
 |
 |
 |
|
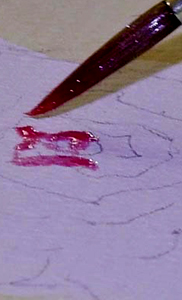
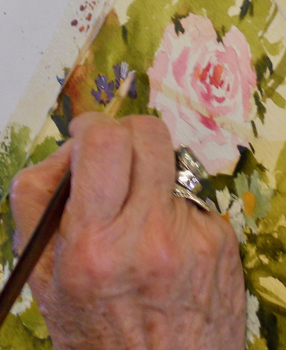
Step 1. Paint a
square shape |
2. Paint around the
square, adding lines that cross the points |
3. Not all lines
should touch - leave some white space |
4. The rose begins to
take shape. |
 |
 |
 |
 |
 |
|
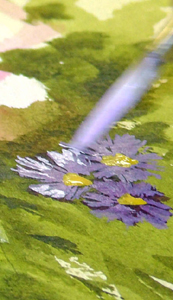
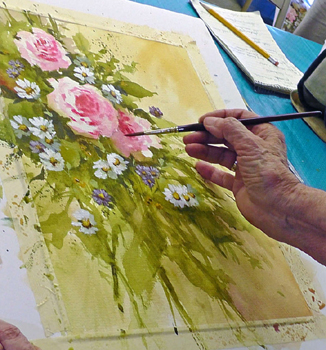
Add Pro White paint for
daisies |
Yellow centers, and touch
of blue/green for shadow |
Layer shades of purple for
Asters |
White for petals, yellow
for centers |
Final details - don't
forget to add shadows under center of daisies and asters |
We look forward to additional workshops
with Cathy....landscapes in the Fall of 2018. We also
thank Cathy for donating her completed class artwork to Euclid
Art for our Spring Fine Art Show raffle.
Enjoy the rest of the story in pictures....below.
 |
 |
 |
 |
|
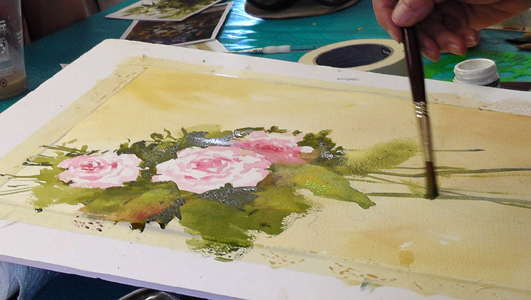
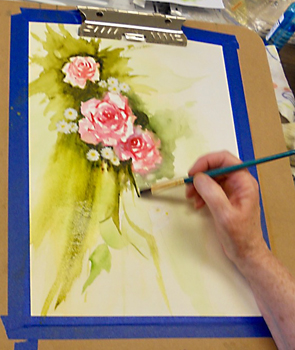
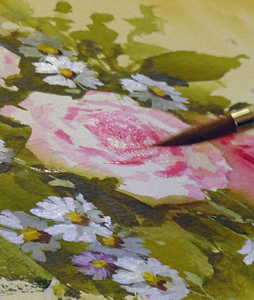
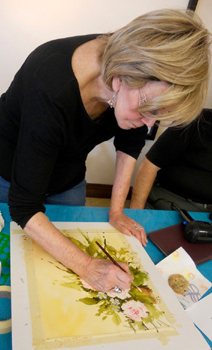
Cathy starts with a wash of
yellow ochre. She wets the paper using a wide brush,
leaving white areas for the roses. |
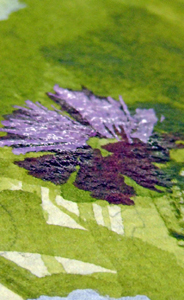
Painting the Asters |
She decides where to place
the next flower; keep an odd number. |
A closer look! |
 |
 |
 |
|
|
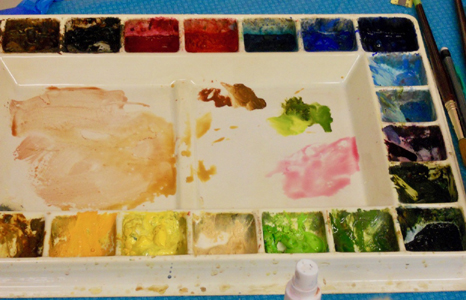
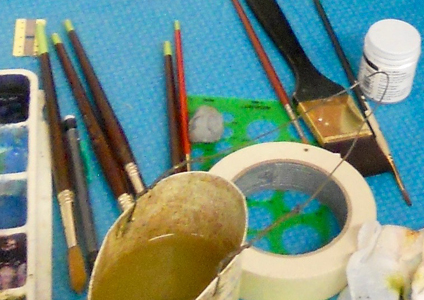
Her palette has all kinds
of paints - Holbein, her favorite, Winsor & Newton, even
Cotman student grade Cerulean Blue (she likes it's
graininess), and Graham paints (with honey). |
Cathy uses a lot of white
paint, especially for small daisies, and to highlight the
Purple Asters |
Her favorite brushes -
round Dream Catchers, from Cheap Joes. Sizes 4, 6,
8, 10, because they keep a sharp point. Notice the
green tips on brush handles. |
|
 |
 |
|
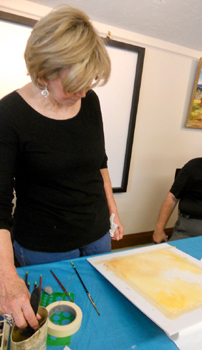
Under construction... |
Almost done... |
 |
 |
 |
|
Emma works on the second
flower. |
The completed painting!
Beautiful... |
Yogesh concentrates on his
painting. |
 Answer
to the first question everyone always asks... "What are your
favorite paints and brushes?" Her palate holds all
kinds of paints from her favorites, Holbein and Winsor &
Newton, including Cotmans student grade Cerulean Blue (she
likes the graininess), to Graham paints with honey (maybe
that's why the bees were so active around us!). Her
favorite colors include Mineral Violet, Olive Green, Leaf Green,
Cad Yellow, Van Dyke Brown, Cerulean Blue, Yellow Ochre,
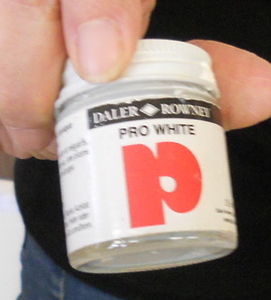
Vermilion and, of course, Pro White by Daler/Rowney. Her
favorite brushes are round Dream Catcher watercolor
brushes from Cheap Joe's, sizes 10, 8, 6, 4, because they keep a
sharp point. Tip...dip the handle tip of your brushes
into a funky nail polish color, that way you'll always know
which brushes are yours. Answer
to the first question everyone always asks... "What are your
favorite paints and brushes?" Her palate holds all
kinds of paints from her favorites, Holbein and Winsor &
Newton, including Cotmans student grade Cerulean Blue (she
likes the graininess), to Graham paints with honey (maybe
that's why the bees were so active around us!). Her
favorite colors include Mineral Violet, Olive Green, Leaf Green,
Cad Yellow, Van Dyke Brown, Cerulean Blue, Yellow Ochre,
Vermilion and, of course, Pro White by Daler/Rowney. Her
favorite brushes are round Dream Catcher watercolor
brushes from Cheap Joe's, sizes 10, 8, 6, 4, because they keep a
sharp point. Tip...dip the handle tip of your brushes
into a funky nail polish color, that way you'll always know
which brushes are yours.
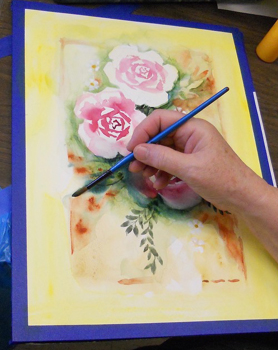
Paintings by members of the class...
Comparison between two artists, an observation....
Cathys watercolor techniques are the polar opposite of
David Rankin, who teaches most of our watercolor classes.
Cathy uses cold press smooth paper, round brushes (mostly), very
little water. Whereas David uses rough paper, a 1-inch
wash brush for almost everything, lots of water for washes and
glistens, Cathy does not do washes per se, its more about
moving the paint around on the paper, very dry brush.
David loads his brush with paint. He uses two containers
of water, one dirty and one clean, while Cathy uses only one
water container. David almost never uses white paint,
because he leaves the white of the paper, painting around the
lightest, brightest, whitest part of the painting. Cathy
uses Pro White paint right over the darkest part of her
paintings. So different, and yet they both create
magnificent works of art!
|
|
|